
How to Use a Bee Smoker: A Step-by-Step Guide to Stress-Free Hive Inspections
Affiliate Disclosure: This post contains affiliate links. If you purchase through these links, Hive & Honey may earn a small commission at no extra cost to you, helping us keep the smoker lit and the advice flowing.
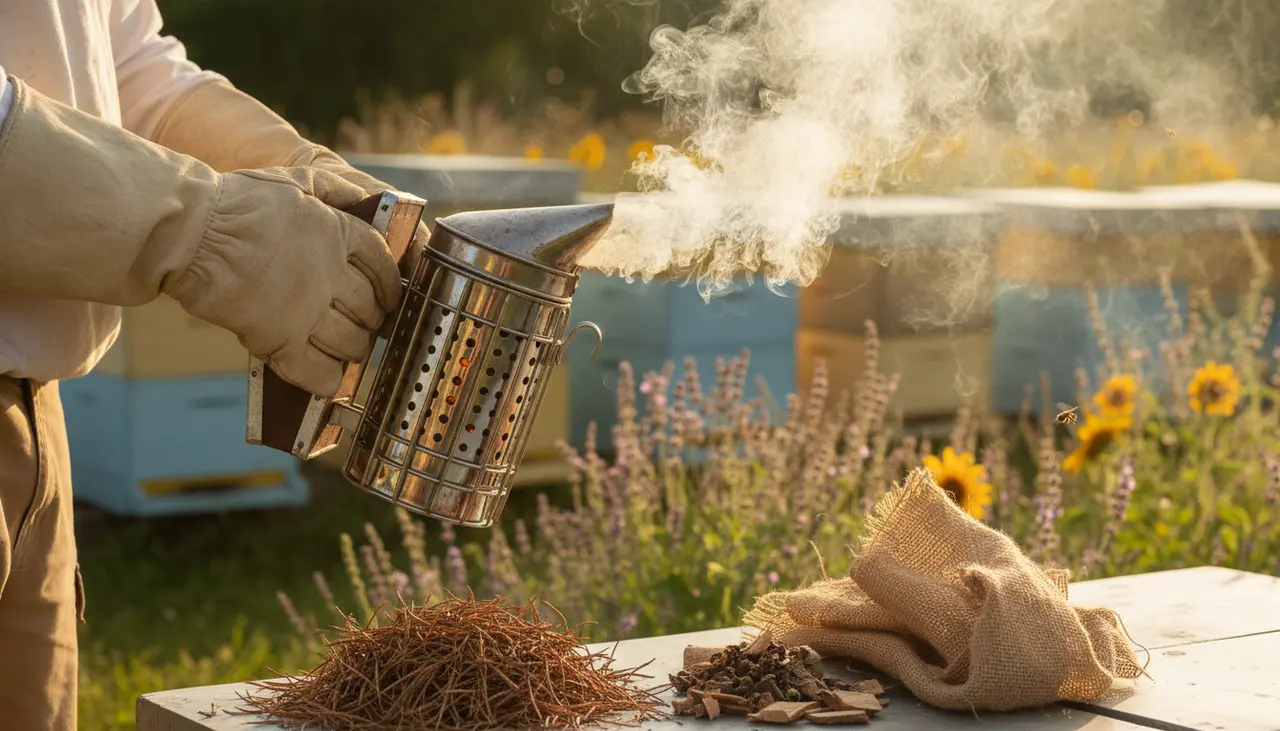
To use a bee smoker effectively, you must create "cool" smoke by lighting a small fire at the bottom of the smoker canister and gradually adding fuel while pumping the bellows. Once you have thick, white smoke, apply 2-3 gentle puffs to the hive entrance and under the inner cover. This process masks alarm pheromones and encourages bees to gorge on honey, making them significantly more docile during your inspection.
The goal is never to "smoke the bees out," but rather to communicate that it is time for a calm, routine check-up.
Why Every Hobbyist Needs a Reliable Smoker
If you are just starting your journey, perhaps having just picked up one of the Best Beginner Beekeeping Kits of 2024: Start Your Backyard Apiary with Confidence, you might feel a bit nervous about using fire around your bees. That is completely normal!
The bee smoker is the most vital tool in your kit because it bridges the communication gap between you and the colony. When bees feel the hive is being opened, they release an alarm pheromone (which smells a bit like artificial bananas). Smoke masks this scent, preventing the "alarm" from spreading. It also triggers a primitive instinct to eat honey in case they need to abandon the hive, which makes them slower and less likely to sting.
Choosing Your Equipment: Smoker Types and Fuels
Before we light up, let’s look at what makes a good smoker. Most hobbyists prefer a standard 4"x7" stainless steel smoker with a heat guard.
| Feature | Stainless Steel Smoker | Galvanized Steel Smoker |
|---|---|---|
| Durability | High; resists rust and corrosion. | Moderate; may rust over time. |
| Safety | Usually includes a wire heat guard. | May or may not have a guard. |
| Longevity | Lasts many seasons with care. | Budget-friendly for 1-2 seasons. |
| Best For | Intermediate and dedicated hobbyists. | Absolute beginners on a strict budget. |
Popular Smoker Fuel Options
- Pine Needles: Best for a quick, pleasant-smelling smoke. They are free if you have trees nearby!
- Cotton Linters/Burlap: Best for beginners because they catch fire easily and stay lit.
- Wood Pellets: Best for long hive inspections; they burn slowly and provide consistent smoke for hours.
Step-by-Step: How to Light and Use Your Smoker
1. The "Starter" Phase
Place a small handful of easy-to-light material (like a crumpled piece of newspaper or a few dry pine needles) at the bottom of the smoker. Light it with a long-neck lighter. Give the bellows a few gentle puffs to ensure the flame is established.
2. The "Fueling" Phase
Once you see a glowing ember, start adding your primary fuel (burlap, wood pellets, or more pine needles). Pack it loosely at first, then more firmly as the smoke thickens. Crucial Tip: Keep puffing the bellows as you add fuel. If you stop puffing, the fire will lose oxygen and go out.
3. The "Cool Smoke" Test
Before heading to the hive, test the smoke on the back of your hand (carefully!). The smoke should be thick and white, and it should feel cool. If the smoke is blue or feels hot, you have an active flame too close to the top. Pack more green grass or fresh fuel on top to act as a filter.
4. Approaching the Hive
Walk up to your hive calmly. Give 2-3 gentle puffs into the front entrance. Wait about 60 seconds. This gives the bees time to react and start consuming honey.
5. Opening the Cover
Gently pry up the outer and inner covers. Before removing them completely, puff a little smoke into the gap. As you work through the frames, you can add a light puff of smoke if you notice the bees starting to line up on the top bars "staring" at you—this is a sign they are becoming defensive.
Beginner Mistakes to Avoid
- Using Too Much Smoke: You don't want to choke the bees or make the honey taste like a campfire. A little goes a long way.
- Using Hot Smoke: Hot smoke can singe bee wings and cause unnecessary stress. Always check the temperature first.
- Letting the Smoker Go Out: There is nothing more stressful than a smoker dying right when the bees are getting cranky. Always have a "refuel" bag nearby.
- Forgetting to Record Observations: While the smoker keeps the bees calm, your job is to observe. Use The Art of the Beekeeper’s Journal: How Observation Transforms Your Apiary to keep track of how the colony responds to different fuel types or weather conditions.
Safety First: Post-Inspection Care
When you are finished, never leave a hot smoker in your car or near dry grass. The safest way to "extinguish" a smoker is to plug the spout with a cork or a wad of green grass and lay it on its side on a non-flammable surface (like a brick or gravel). This cuts off the oxygen and safely puts out the embers.
Frequently Asked Questions
What do I do if my smoker goes out mid-inspection? Don't panic. Gently set the covers back on the hive, step away, and relight it. Never try to "tough it out" without smoke if the colony is active.
Can I use any fuel I find? Avoid anything treated with chemicals, plastics, or synthetic fibers. Stick to natural materials like untreated burlap, wood chips, or dried herbs like lavender for a pleasant aroma.
How often should I clean my smoker? Creosote (a black, tar-like substance) will build up inside the lid. Scrape it off with your hive tool every few weeks to ensure the lid opens and closes smoothly.
Mastering the smoker is a rite of passage for every backyard beekeeper. With a little practice, lighting your smoker will become a meditative start to your time with the bees—a signal to both you and the hive that it’s time to work together.