
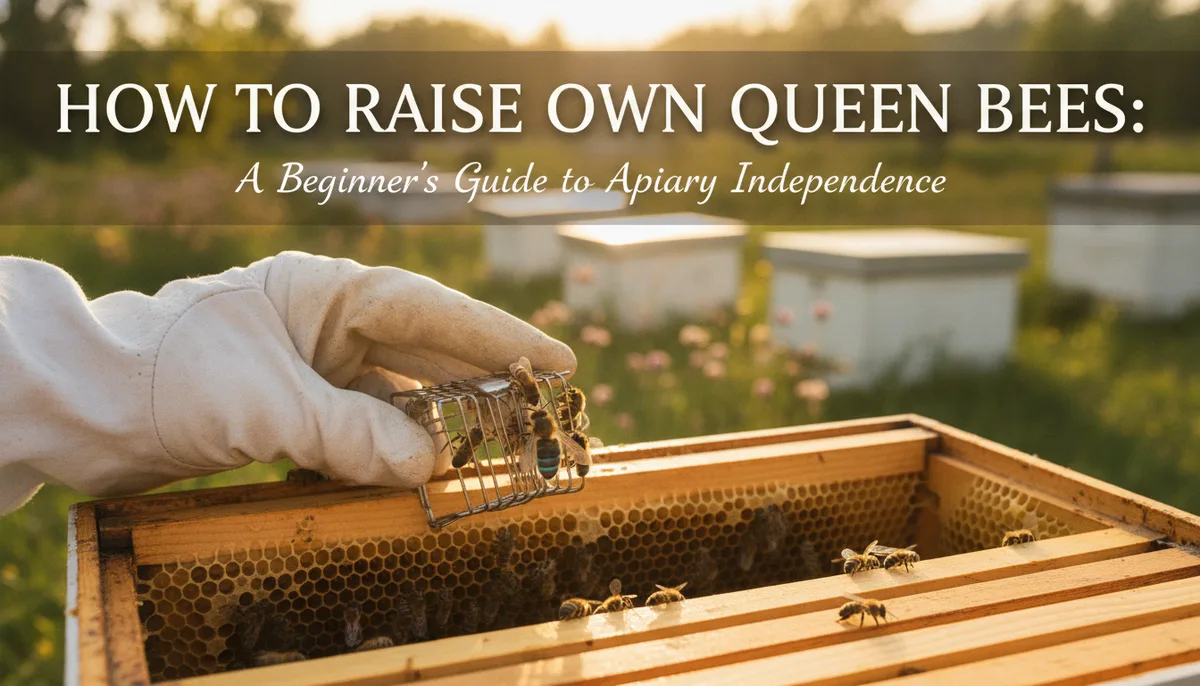
How to Raise Your Own Queen Bees: A Beginner’s Guide to Apiary Independence
Demystifying the Art of Queen Rearing
For many hobbyists, the idea of raising a queen bee feels like the final frontier of beekeeping. There is a common misconception, often shared in local bee clubs, that queen rearing is a dark art reserved for commercial operations with decades of experience and specialized laboratories. As David Burns points out, many beekeepers feel that this level of management is simply out of reach.
However, the reality is far more encouraging. Raising queens is not a matter of "magic," but a matter of understanding honey bee biology and providing the right environment at the right time. Whether you manage two hives or twenty, the ability to produce your own queens is one of the most empowering skills you can develop. It moves you from being a consumer of bees to a producer, ensuring the long-term sustainability of your apiary.
If you are still navigating the first year, focusing on hive stability is key, but once you have a solid season under your belt, queen rearing is the natural next step in your journey.
Why Local Queens Outperform Commercial Queens
The honey bee industry relies heavily on queens produced in massive quantities in warm climates like Georgia, California, or Hawaii. While these queens are essential for the industry, they are often bred for "general" traits and mass-shipped across the country.
When you raise your own queens, you gain three distinct advantages:
- Local Adaptation: Your bees have already survived your local winter and thrived on your local nectar flows. By raising queens from your best-performing colony, you are propagating genetics that are "tuned" to your specific environment.
- Reduced Stress: A queen raised in your own yard doesn't have to endure the stress of being caged, placed in a shipping box, and sent through the mail. She can go from a mating nuc to a full colony with minimal downtime.
- Cost and Availability: Commercial queens can be expensive, and during the peak of spring, they are often sold out. Having the skill to raise your own means you are never at the mercy of a supplier's inventory.
Before you begin, ensure you have the right protective gear to handle the delicate work of hive manipulation. You can find high-quality options in our guide to top-rated bee suits for maximum protection.
The Biological Clock: Understanding the 16-Day Cycle
To raise a queen successfully, you must work in harmony with the bees' natural timeline. The development of a queen is the fastest of all three castes in the hive:
- Day 1–3: The egg stage.
- Day 4–8.5: The larval stage. This is the critical window. To become a queen, a larva must be fed exclusively royal jelly from the moment it hatches.
- Day 9: The queen cell is capped.
- Day 16: The virgin queen emerges.
The "magic" happens in those first few days of the larval stage. If a colony finds itself queenless, they will select young larvae (less than 3 days old) and begin feeding them royal jelly. As a beekeeper, your job is simply to trigger this "emergency" or "supersedure" response under controlled conditions.
Selecting Your Breeder Stock
You shouldn't raise queens from just any hive. You want to select your "Breeder Queen" from your most successful colony. Look for the following traits:
- Overwintering Ability: Did they survive the winter with a strong population?
- Gentleness: Are they easy to work with, or do they fly at your veil the moment you open the lid?
- Hygienic Behavior: Do they keep the hive clean and effectively manage mites?
- Honey Production: Do they build up quickly and store a surplus?
Once you’ve identified your best queen, you will use her larvae to create the next generation. If you are just starting out and don't have established colonies yet, consider one of the best beginner beekeeping kits of 2024 to get your first apiary running correctly.
Practical Methods for the Small-Scale Beekeeper
You don't need to learn "grafting" (the delicate process of moving larvae with a tiny tool) to raise a queen. While grafting is efficient for large numbers, beginners can use simpler methods.
The Miller Method
This is one of the oldest and most reliable non-grafting methods. You take a frame of foundation and cut the bottom edge into a "zig-zag" or "V" shape. Place this frame into the center of your breeder colony. The queen will lay eggs along the new edges. Once the eggs hatch into tiny larvae, move that frame into a "cell builder" hive—a colony that has been made intentionally queenless and is overflowing with young nurse bees. They will build queen cells along the jagged edges of the comb, which are easy to cut out and move later.
stainless steel bee grafting tool
The On-the-Spot (OTS) Method
Developed by Mel Disselkoen, this method involves using a hive tool to notch the wax below young larvae on a standard frame. This encourages the bees to build queen cells outward from those specific spots. It is a fantastic way to raise a few queens without any specialized equipment.
The Walk-Away Split
This is the simplest method of all. You divide a strong colony into two. One half gets the queen; the other half gets frames of eggs, young larvae, and plenty of nurse bees. The queenless half will realize their predicament and raise a new queen from the existing larvae. While less "precise," it is highly effective for increasing hive count.
queen rearing starter kit
The Cell Builder: The Engine of Production
Regardless of the method you choose, you need a "Cell Builder" hive. This is a temporary setup designed to be "hopelessly queenless" and crowded with nurse bees. Nurse bees are the ones with active hypopharyngeal glands that produce royal jelly.
To create a cell builder:
- Select a very strong colony.
- Remove the queen and all frames of open brood (move them to a different hive).
- Shake several extra frames of young bees into the hive.
- Provide heavy syrup and pollen patties.
- Introduce your grafting frame or Miller frame.
Because the bees have no other larvae to feed and no queen, they will pour all their resources into the larvae you have provided, resulting in large, well-fed, high-quality queens.
Mating and Success Rates
Once the queen cells are capped, they must be moved to "mating nucs"—small mini-hives—before they emerge. If more than one queen emerges in the same hive, they will fight to the death until only one remains.
The virgin queen will emerge on day 16. Within 5 to 7 days, she will take her orientation flights, followed by her mating flights. She needs to fly to a "Drone Congregation Area" (DCA) and mate with 10–20 drones to ensure she has enough genetic diversity and sperm to last her lifetime.
Pro-Tip: Success depends heavily on the weather and the drone population. If it is rainy or cold during her mating window, she may not mate properly, resulting in a "drone layer." Always raise 2 or 3 queens for every 1 you actually need to account for losses during the mating flight.
Moving Forward: Apiary Independence
Raising your own queens is more than just a cost-saving measure; it is a way to truly connect with the biology of the hive. It forces you to become a better observer of bee behavior and a more proactive manager of your colonies.
As you refine your skills, you’ll find that your bees become more resilient, your honey yields increase, and the satisfaction of seeing a queen you "made" successfully leading a colony is unmatched. Don't let the technical jargon of commercial beekeeping intimidate you. Start small, use the methods that fit your style, and enjoy the process of becoming a truly self-sufficient beekeeper.