
How to Install a Package of Bees Safely: A Calming Guide for Your First Day
To install a bee package safely, you should first calm the bees by misting the screen of their cage with 1:1 sugar syrup. Once the hive is prepared with a few frames removed, you remove the queen cage, secure her inside the hive, and then gently but firmly shake the remaining bees into the brood box. Closing the hive quickly and providing immediate food ensures the colony stays put and begins building comb.
The best time to install your bees is in the late afternoon or early evening on a calm, mild day. This timing encourages the bees to settle in overnight rather than flying out immediately to forage, which reduces the risk of the colony absconding (leaving the hive).
Welcome to Your First Day as a Beekeeper
If you’re reading this with a buzzing wooden box sitting on your kitchen table and a heart full of nervous excitement, take a deep breath. You’ve done the research, you’ve bought the Best Beginner Beekeeping Kits of 2024: Start Your Backyard Apiary with Confidence, and today is the day it all becomes real.
Installing a package of bees is one of the most memorable milestones in a hobbyist’s life. While the sound of 10,000 bees can be intimidating, this guide is designed to help you approach the task with a steady hand and a calm spirit. We’re going to walk through the "homecoming" process step-by-step, ensuring your new friends feel welcome and secure in their new Langstroth home.
Affiliate Disclosure: This post contains affiliate links. If you purchase through these links, we may earn a small commission at no extra cost to you, which helps support our hive.
Preparation: Setting the Scene for Success
Before you even touch the bee package, you need your "staging area" ready. You don’t want to be fumbling for a tool while holding a box of live bees.
Your Installation Checklist:
- Protective Gear: Your bee suit or veil should be on and zipped.
- The Hive: A bottom board, one brood box, and a lid.
- Sugar Syrup: A 1:1 ratio of granulated white sugar and water (dissolved).
- Spray Bottle: A clean, new plastic spray bottle (never one previously used for chemicals).
- Hive Tool: Essential for prying the syrup can out of the package.
- Marshmallow: Just one (we’ll explain why later!).
If you aren't sure you have everything, check our list of Essential Beekeeping Tools Every Newbie Needs: Beyond the Hive and Suit to make sure your kit is complete.
Choosing the Right Feeder for Installation
Feeding is the most critical part of a successful installation. Since the bees have no honey stores yet, they need immediate access to syrup to build beeswax.
| Feeder Type | Best For | Pros | Cons |
|---|---|---|---|
| Entrance (Boardman) | Monitoring levels | Easy to refill without opening the hive. | Can trigger robbing from other colonies. |
| Frame Feeder | Cold climates | Sits inside the hive where it stays warm. | Risk of bees drowning if not used with a float. |
| Top Feeder | High-volume feeding | Holds gallons of syrup; very secure. | Requires an extra hive body (spacer). |
The Step-by-Step Installation Guide
1. Calm the Bees
About 20 minutes before you head to the yard, lightly mist the screen of the bee package with your sugar syrup. Do not soak them—you just want to give them something to lick off each other. This keeps them busy, full, and less likely to fly.
2. Open the Hive
Remove 4 or 5 frames from the center of your brood box. This creates a "landing zone" where you will pour the bees.
3. Remove the Queen Cage
Give the package a sharp "thump" on the ground. This drops the bees to the bottom of the box so they aren't all clustered at the top. Use your hive tool to pry out the syrup can and slide the queen cage out.
Pro Tip: Check to make sure the queen is alive! She should be moving inside her small wooden or plastic cage. Cover the hole in the package with a piece of wood or your hive tool so the other bees don't escape yet.
4. Prepare the Queen
Most queen cages have a candy plug at one end. Remove the cork or plastic cap covering the candy. If the cage doesn't have candy, this is where your marshmallow comes in! Gently plug the hole with a small piece of marshmallow. This allows the worker bees to eat through it over 24-48 hours, releasing her slowly so they have time to accept her scent.
5. Install the Queen
Hang the queen cage between two of the remaining frames in the center of the hive. Use the attached wire to secure it, making sure the screen of the cage is exposed so the workers can feed her through the mesh.
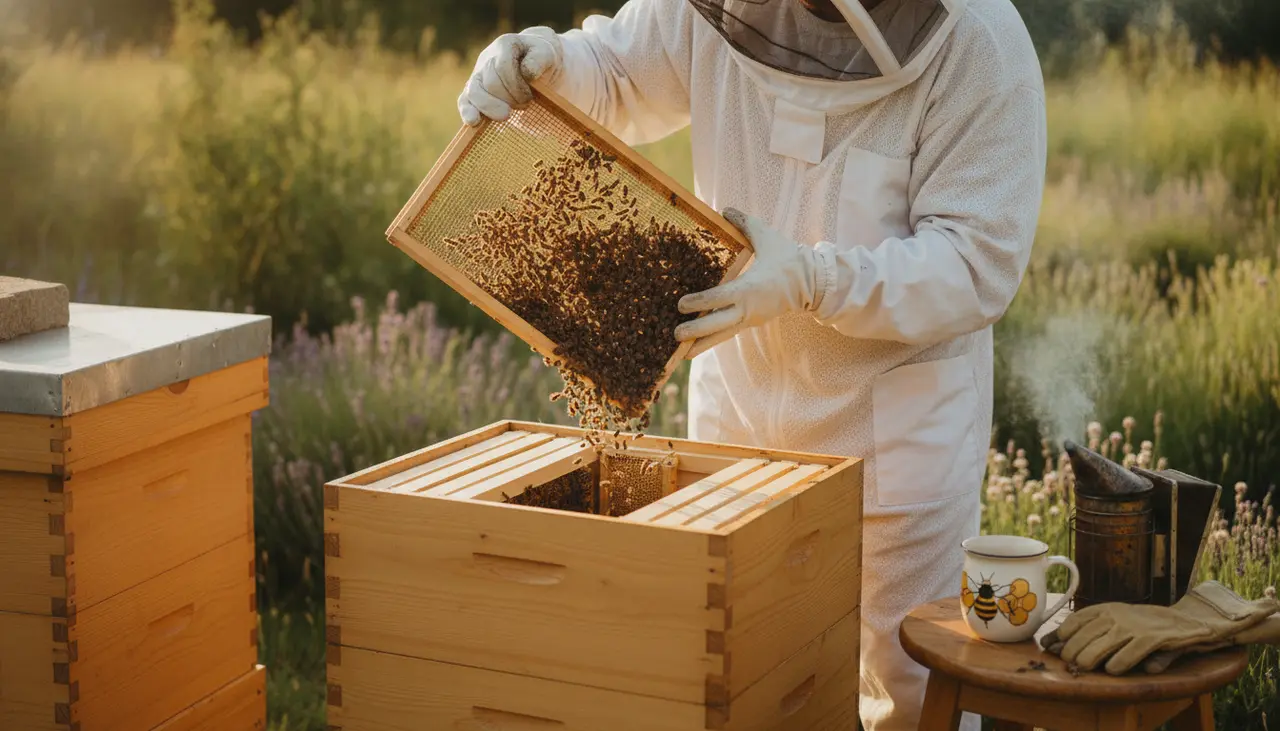
6. The "Big Pour"
Now for the fun part. Give the package another firm thump to drop the bees. Turn the box upside down over the empty space in your hive and shake it firmly. The bees will fall out like a thick, golden liquid. Don't worry if a few hundred are left in the box; just set the open box on the ground in front of the hive entrance, and they will find their way home.
7. Close and Feed
Gently slide the removed frames back in (be careful not to crush the bees!). Place your feeder on the hive and put the lid on.
Common Beginner Mistakes to Avoid
- Using a Smoker: You generally do not need smoke to install a package. The bees are "homeless" and have nothing to protect, so they are usually quite docile. Smoke can actually confuse them during this process.
- Checking Too Soon: Resist the urge to open the hive the next day. Leave them alone for 5–7 days. If you disturb them too early, they may blame the queen for the stress and kill her.
- Forgetting the Syrup: A new package has zero food. If you don't provide sugar syrup supplies immediately, the colony can starve within 48 hours if the weather is poor.
Frequently Asked Questions
How long does it take for the bees to release the queen? Usually, it takes 2 to 3 days for the workers to eat through the candy or marshmallow plug. You should check for her release about 5 days after installation.
What if it rains on the day my bees arrive? If the weather is terrible, you can keep the bees in a cool, dark place (like a garage or basement) for a day or two. Just keep misting the screen with sugar syrup so they stay hydrated and fed.
Should I see pollen coming in right away? Yes! Once the queen is released and starts laying, you should see workers bringing in bright orange or yellow balls of pollen on their legs. This is a great sign that the colony is healthy and growing.
Installing your first package is a rite of passage. It’s the moment you stop being a student of beekeeping and start being a steward of nature. Stay calm, move slowly, and enjoy the hum!