
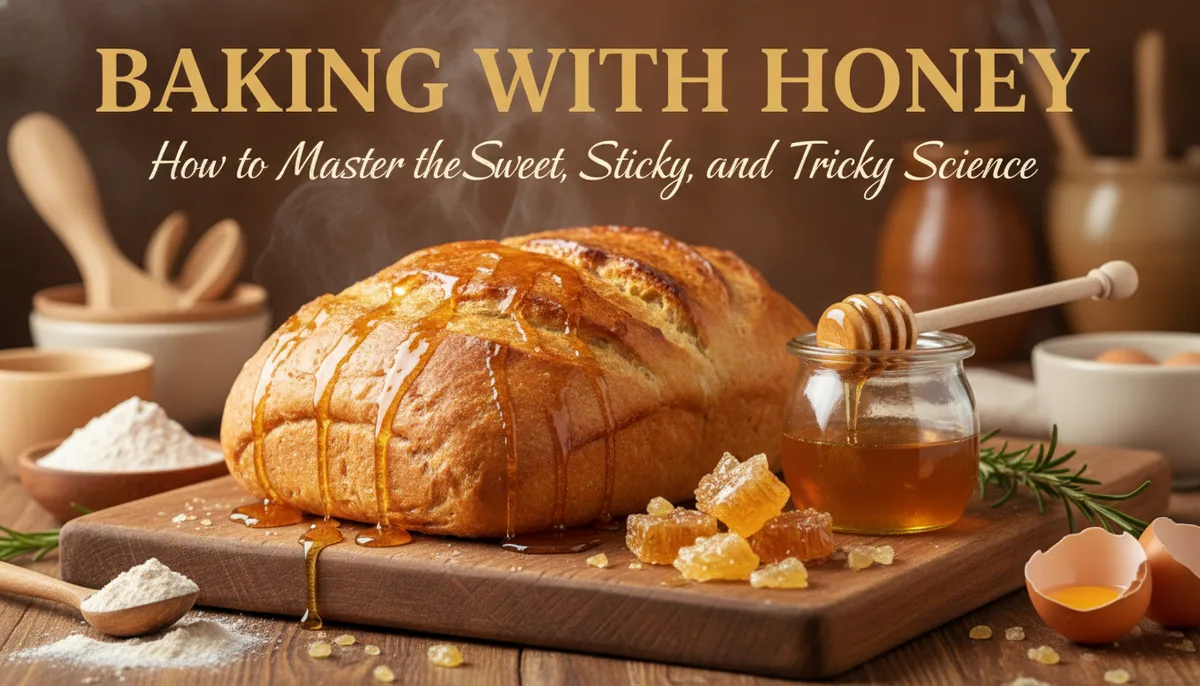
Baking with Honey: How to Master the Sweet, Sticky, and Tricky Science
Honey is one of nature’s most complex and versatile ingredients. For the home baker, it offers a depth of flavor, a moist crumb, and a beautiful golden hue that granulated sugar simply cannot replicate. However, if you’ve ever tried to swap sugar for honey in a favorite recipe without making adjustments, you likely encountered a "sticky" situation. Your cake might have come out too dark, your cookies might have spread into a single puddle, or the center might have remained stubbornly gooey.
Baking with honey is a science. Because honey is a liquid, an acid, and a highly concentrated sweetener all at once, it interacts with heat and leavening agents differently than dry sugar. To master the art of the honey-infused oven, you must understand the chemistry behind the golden jar.
The Chemistry of Honey vs. Granulated Sugar
To understand why honey is "tricky," we first have to look at what it is made of. Table sugar (sucrose) is a disaccharide. Honey, however, is a mixture of the simple sugars fructose and glucose, along with about 17% to 18% water.
This composition makes honey hygroscopic, meaning it attracts water molecules. In practical terms, this is a baker's dream: honey-baked goods stay moist much longer than those made with sugar. However, this same property means that honey can make a crust soft rather than crisp. If you are aiming for a crunchy shortbread, honey might not be your best ally; but for a rich gingerbread or a dense pound cake, it is unparalleled.
Because honey is more dense and contains more calories per tablespoon than sugar, it also provides a more intense hit of sweetness. This is why a direct 1:1 substitution rarely works.
Rule 1: The Golden Ratio of Substitution
When replacing granulated sugar with honey, the most important adjustment is the quantity. Because honey is sweeter than sugar, using the same volume will overwhelm the other flavors in your recipe.
- The 3/4 Rule: For every 1 cup of sugar called for in a recipe, use 1/2 to 3/4 cup of honey.
- The Liquid Reduction: Since honey is roughly 18% water, you are adding extra liquid to your batter. To compensate, reduce the other liquids in the recipe (milk, water, or juice) by 1/4 cup for every 1 cup of honey used.
If you are a precision baker, using a scale is the only way to ensure consistency. Honey weight can vary slightly based on the floral source and moisture content.
digital kitchen scale for baking
Rule 2: Neutralizing the Acidic pH
One of the most overlooked aspects of honey is its acidity. Honey typically has a pH between 3.4 and 6.1. In the world of baking, acidity affects how things rise.
Most recipes using granulated sugar rely on the neutral pH of sucrose. When you introduce the acidity of honey, it can interfere with the browning and the structure of the crumb. To balance this, you need to add a base.
- The Baking Soda Fix: Add 1/12 to 1/4 teaspoon of baking soda for every cup of honey used.
Even if the recipe doesn’t call for baking soda, this tiny addition will neutralize the honey's acid, helping the dough rise properly and preventing the finished product from becoming too dense or "heavy."
Rule 3: Managing the "Quick Brown" Factor
Have you ever pulled a honey loaf out of the oven that looked perfectly done on the outside, only to find it raw in the middle? This happens because honey browns much faster than sugar.
The fructose in honey begins to caramelize at a lower temperature than sucrose. If you bake a honey-heavy recipe at the standard 350°F (175°C), the exterior will often scorch before the interior reaches the proper temperature.
- The Temperature Drop: Lower your oven temperature by 25°F (about 15°C) from what the recipe suggests.
- The Time Extension: Because you are baking at a lower temperature, you may need to increase the baking time by 5 to 10 minutes. Keep a close eye on your bakes and use a toothpick or internal thermometer to check for doneness.
To protect your pans and ensure an even bake, many professionals recommend using parchment paper or high-quality silicone mats, as honey-based batters are notoriously prone to sticking.
silicone baking mat for easy cleanup
Choosing the Right Honey for the Job
Not all honey is created equal. The flavor of honey is a map of the flowers the bees visited. A light, mild honey like Clover or Alfalfa will provide sweetness without drastically altering the flavor profile of your bake. This is ideal for delicate sponges or sugar cookies.
On the other hand, dark honeys like Buckwheat or Wildflower have robust, malty, and sometimes earthy notes. These are fantastic in hearty recipes like rye bread, spice cakes, or bran muffins.
If you are harvesting your own honey, you may notice that the flavor changes with the seasons. For those just starting their journey into beekeeping to secure a steady supply of local nectar, choosing the right equipment is the first step. You can explore the Best Beginner Beekeeping Kits of 2024: Start Your Backyard Apiary with Confidence to begin your own "hive-to-table" tradition.
Practical Tips for Working with Sticky Ingredients
The biggest deterrent for many bakers is the mess. Honey sticks to measuring cups, spoons, and counters. To make the process smoother, try these kitchen-tested tips:
- Oil the Cup: Before measuring honey, lightly coat your measuring cup or spoon with vegetable oil or cooking spray. The honey will slide right out, ensuring you get the full amount into the bowl.
- Use a Plunger-Style Measurer: These specialized tools allow you to set the volume and then "push" the ingredient out, leaving almost zero residue behind.
- The No-Drip Dispenser: If you find yourself adding honey to bread doughs or tea frequently, a glass dispenser can save you from the "sticky lid" syndrome.
glass honey dispenser no drip
Tracking Your Experiments
Because honey is a biological product, every batch behaves slightly differently. A wildflower honey from a dry summer might have less water content than a clover honey from a rainy spring.
Serious bakers should take a page out of the beekeeper's book. Just as a beekeeper notes the behavior of the hive and the bloom of the flora, a baker should record the results of their honey substitutions. Understanding the nuances of your ingredients is what separates a cook from a craftsman. For inspiration on how to document your findings, read about The Art of the Beekeeper’s Journal: How Observation Transforms Your Apiary. Applying this level of detail to your baking will help you perfect your "house recipe" over time.
Conclusion: The Reward is Worth the Effort
While baking with honey requires more attention than using white sugar, the results are undeniably superior. You gain a moist texture that lasts for days, a complex aromatic profile, and the satisfaction of using a natural, minimally processed sweetener.
By remembering the three pillars of honey baking—reduce the liquid, add baking soda, and lower the oven temp—you can successfully convert almost any recipe. Whether you are using honey from your own backyard or a local farmer’s market, you are participating in a culinary tradition that dates back thousands of years.
So, don't be intimidated by the "tricky" nature of the bee's gold. With a little science and a bit of patience, your kitchen will soon be filled with the incomparable aroma of honey-baked treats.